wolfygame 1/28/19
So "wolfygame" is just a place-holder title for a small software raycasting ( not raytracing) engine I'm working on. I've written this in the past, but never went far beyond wall, floor and ceiling texturing (I did add diffuse lighting though :D). Hopefully, this one can add some more interesting features, particularly, different floor heights.
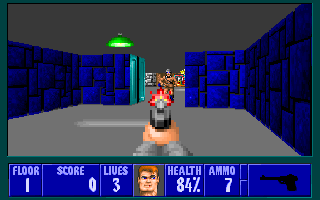
So, a RAYCASTING engine is an engine in the style of the game Wolfenstein 3D, where the map is a 2D tile map, but it is rendered in 3D as a set of walls:

The more familiar raytracing casts one ray per pixel, whereas raycasting casts one ray per column of the screen. The first (or several, with multiheight floors) collision with a wall is found and a (textured) vertical strip is drawn scaled based on the distance. Do this for each column and you get a 3D render of the 2D map. Because it casts a ray per column, it is limited to 2D geometry with walls and floors always perpendicular.
Tutorials
There are two main tutorials on raycasting on the internet: permadi and lodev. Both tutorials are good, but they both have a couple problems.
Permadi
This tutorial is the most intuitive one. It takes its time and explains things well. It solves everything using basic trigonometry. However, if you implement its algorithm as described and then raise the field of view (FOV) up to 90, as you would on a widescreen monitor, the sides of the screen look warped. (... also, why oh why do console game ports so often ship with 60 degress FOV?! ...).
The problem has to do with how it determines the direction of the rays. It does something like this:
double field_of_view = 90.0;
double angle_player_faces = 45.0;
for (int column = 0; column < screen_width; column++) {
    float angle_of_ray = angle_player_faces - field_of_view / 2 +
            ((double)column / (double)screen_width) * field_of_view

    ... use the angle, cast the ray, etc ...
}
The angle of each ray is calculated by stepping across 90 degrees in equal increments of degrees. This is simple to impement, but is actually incorrect. When modeling raycasting (or rendering in general), the viewer is at a position behind a camera plane onto which the screen is mapped. What is rendered to the screen represents the "light" that passes in to the player point through that plane. Each ray is supposed to be for a different, equally spaced column of the screen, so that means that each ray must start at the player position and pass through equally spaced increments of the camera plane. It looks like this (V2 is a 2D vector of double):
V2 player_direction = (V2) { .x = 1, .y = 0 };
V2 camera_plane = V2NormalOf(player_direction);
// If the camera plane is the same magnitude as the direction
// you have a 90 deg fov

for (int column = 0; column < screen_width; column++) {
    // linear slide from -1 to 1:
    double amount = (2 * column) / screen_width - 1;
    V2 ray_vector = player_direction + camera_plane * amount;

    .. use the vector, cast ray, etc ...
}
This is the method from the lodev tutorial and it is actually correct. If you look at the angle of each of these ray vectors, you will find that the change in angle from column to column is not constant. The change is smaller at the edges of the screen/camera plane. For example, with a screen_width of 50, the angle difference between columns near the middle of the screen is ~2.2 degrees, but near the ends it is only ~1.2.
So although most of the permadi tutorial is fine, you have to incorporate this correct method of computing the ray vector or the result will look warped with a high fov.
lodev
The lodev tutorial has the huge benefit of including working code with the tutorial. It uses a different method of raycasting built around vector math and a bresenham-style (DDA) method for casting the rays. At one part of the tutorial, the lengths of two variations of the ray vector are calculated - one scaled so the X component is one, and the other scaled so that the Y component is one. The obvious, intuitive way to do this is:
    delta_dist_x = sqrt(1 + ray_y * ray_y / ray_x * ray_x);
    delta_dist_y = sqrt(1 + ray_x * ray_x / ray_y * ray_x);
This just comes from dividing the vector by either its X or Y component and using the pythagorean theorem. However, in the code, these are optimized into the following:
    delta_dist_x = abs(1 / ray_x);
    delta_dist_y = abs(1 / ray_y);
This simplification is true if and only if the ray vector is a unit vector - however, it is not. The ray vector is the sum of the direction and plane vectors and its length varies. As a result, these lengths are not correct. But then why does the algorithm still work?
These values are only used to accumulate the distance travelled so far by hopping along X and Y boundaries (side_dist_x and side_dist_y in the tutorial). A non-unit vector will cause both delta_dist_x and delta_dist_y to get scaled by the same amount. So, as long as you are only using these to compare the lengths with each other, both have the same scaling error, so the results end up the same, and it works.
Unfortunately, I could not leave it at that. I want to know the real distance travelled while casting the ray, so that on a very large map you can quit casting early and just draw silent hill distance fog. Fortunately, there is a very easy way to fix this - just use a normalized ray vector:
    V2 ray_unit = V2Unit(ray_vector);
    delta_dist_x = abs(1 / ray_unit.x);
    delta_dist_y = abs(1 / ray_unit.y);
There are many places like this in the lodev example. Basically, its implementation is shorter and clearer than the permadi tutorial, but it gets there with some simplifying assumptions. It assumes that the distance between the player and the camera plane is always 1. It assumes that the field of view and aspect ratio are 60 and 4:3. It also assumes that walls always have a height of 1.
So far
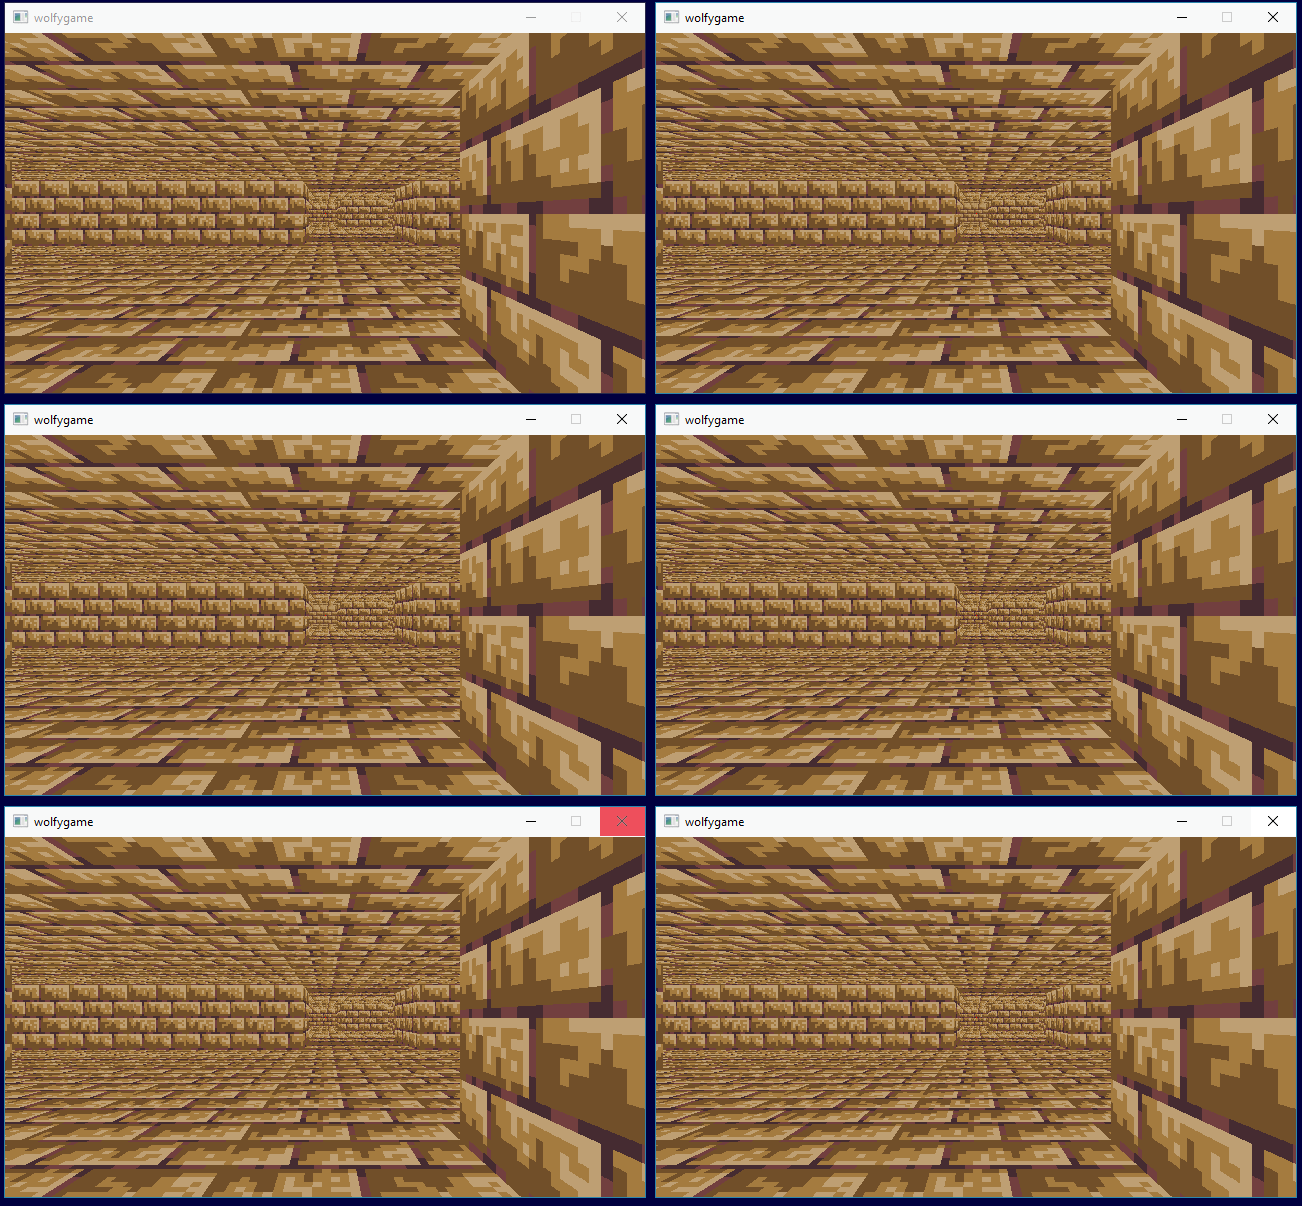
Step 1 was getting the basic walls, floors and ceilings with textures working:
I implemented mipmapping on the textures (or texture atlas), but with the low resolution textures I'm using it doesn't help much (and the floors really need anistropic filtering or much higher resolution for any real improvement). I ended up removing the mipmaps. Here is mipmaping getting toggled on and off:

For the sake of total performance overkill, I added a basic thread pool and arranged
the renderer to divide the screen up into
screen_width / logical_proc_count
chunks to be each rendered on a separate thread. Below is a gif of three
background threads each rendering part of the screen with a 1 ms delay per
pixel. The main thread would normally be rendering the fourth quadrant, but it
is busying redrawing the screen over and over to make the animation :)
